
So you’re making the leap into the world of Cloud only or cloud first and moving devices to Entra joined. Did you know the standard login process for entra join changes the way users sign in? By default, entra join devices will require the user to sign in with their work or school account, in other words, their Microsoft 365 email address or more accurately, their User Principle Name (UPN). Whereas domain or hybrid domain join devices will expect the user to login with their SAM Account Name.
Did you know that we can change this?
Reasons to Update
- Keep user experience consistent between the different device join types
- Reduce failed login attempts with typos or users not realising the change
- Reduced communication to users for login changes
- Speed up the login process
Understanding the UPN
Lets break it down. You can see that the UPN is name of the SAM Account Name and the email domain name. As already explained, by default the user needs to type in the full UPN when signing in.

Now that you understand the concept of where the UPN comes from, lets change the sign in experience to just require the first part and save users having to type out the entire UPN.
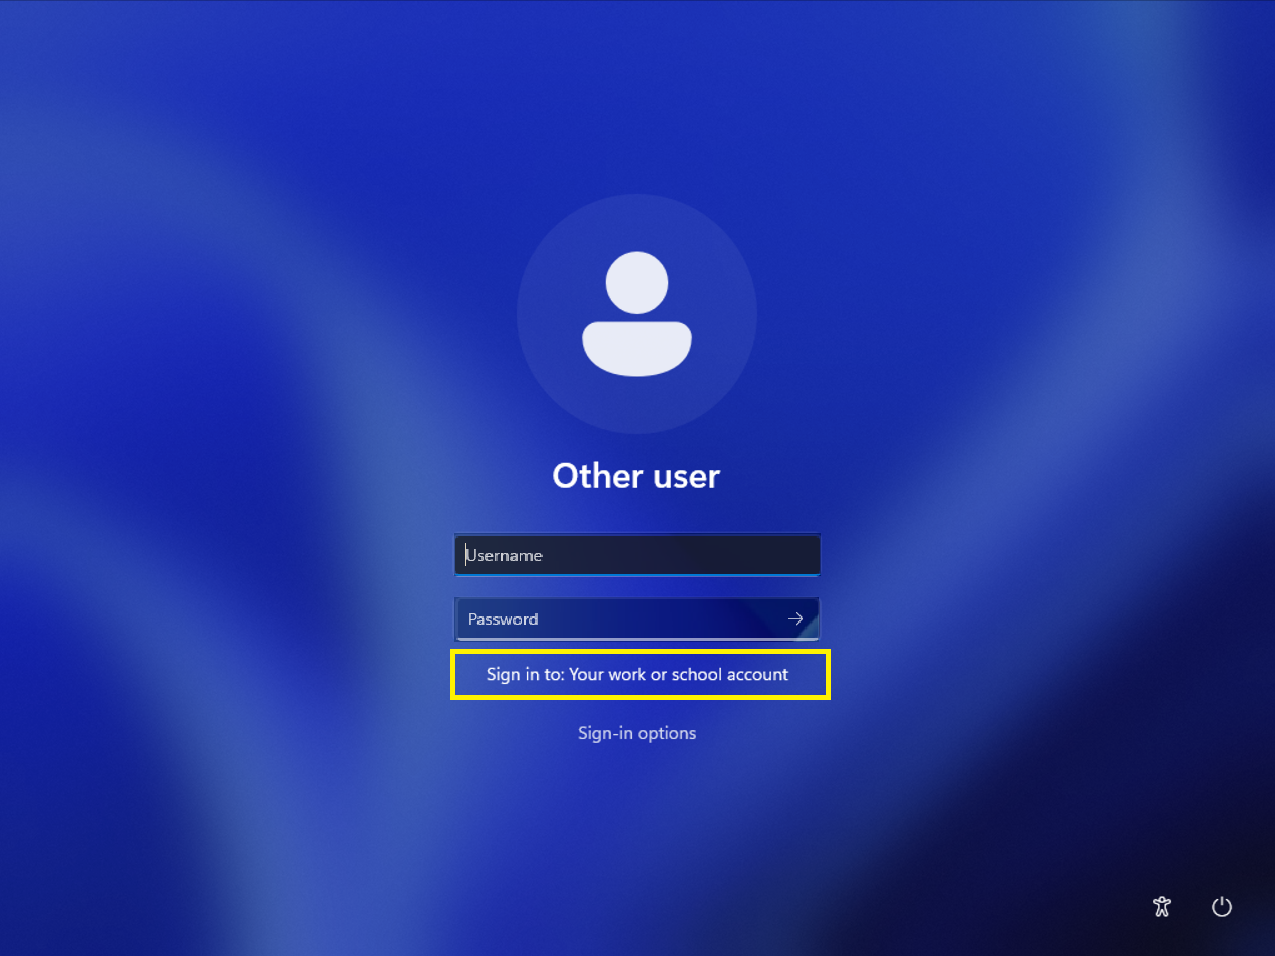
What you’ll currently see
If you have the default configuration, this is what you’re users will see when logging in. You can tell it’s the default as it’ll say Sign in to: Your Work or School Account
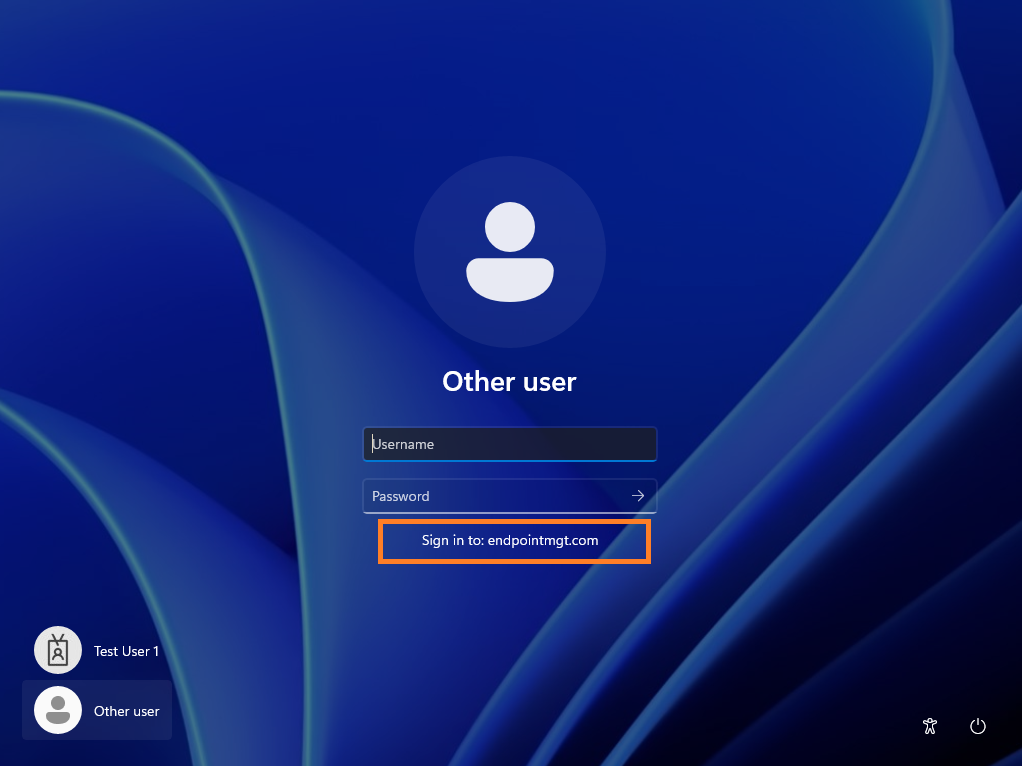
What it could look like
Once you’ve deployed the configuration below, this is what you’re users will see when logging in. The login experience will update to show Sign In to: DomainName.com
Configure the the login experience
To configure the login, we’re going to utilise a setting within Intune’s settings catalogue
Configure Preferred Aad Tenant Domain Name Policy
- Log into Intune
- Navigate to Devices > Windows > Configuration > Create > New Policy
- Select Platform Windows 10 and later
- Select Profile Type Settings Catalog > Create
- Give your policy a suitable name, then Next
- Select Add Settings
- Search for Preferred Aad Tenant Domain Name
- Select Authentication
- Tick Preferred Aad Tenant Domain Name
- Close the settings tag with the cross on the top right
- Within the Preferred Aad Tenant Domain Name type in your domain unique custom domain name, such as ABCCompany.com - Don’t include the @ sign.
- Select Next > Next
- Assign the policy to an Entra group of test devices. Note - I would suggest a static test group for the testing phase then moving when you’re ready to deploy to production, using the All Devices with an assignment filter or a dynamic entra group once you’re ready to deploy.
- The policy should look something like this

- Create once you’re happy with the configuration and assignment
Test the new login experience
Once a device is added and sync’d to the test group and the policy is received by the device. The login experience will update to show Sign In to: DomainName.com
Log into the device with just the SAM Account Name. If you’re logged in successful, you’ve successful improved the login experience and can deploy wider.
Other UPN Domains
Within some environments, you may have users with different domains or even sub domains, these are also supported. All the user has to do is type in their normal UPN. You’ll notice that as soon as you type the @ sign, the Sign In to: DomainName.com will update back to the default Sign in to: Your Work or School Account, allowing the user to login as normal.
As always, thanks for reading!